Creating multilingual websites with NextJS 13 is straightforward and efficient. This guide covers the essential steps:
-
Setup and Requirements
- Install Node.js, npm, and required packages (
next-i18next,i18next,react-i18next) - Create a new Next.js project with TypeScript support
- Install Node.js, npm, and required packages (
-
Project Structure for Multiple Languages
- Create separate directories for each language within
pages - Use the
[locale]dynamic segment for language-agnostic routing
- Create separate directories for each language within
-
Setting Up next-intl
- Install
next-intl - Create locale-specific JSON files for translations
- Configure
next-intland add middleware
- Install
-
Building Language-Specific Pages and Layouts
- Use
generateStaticParamsfor static rendering of locales - Utilize the
useTranslationhook to access translated text
- Use
-
Adding a Language Switcher
- Create a
LanguageSwitchercomponent - Integrate the component into your layout or pages
- Create a
-
Static Site Generation for Performance
- Implement SSG using
generateStaticParams - Add the current locale to the HTML tag
- Implement SSG using
-
Advanced Routing for Multiple Languages
- Set up middleware for locale detection and redirection
- Detect the user's preferred locale
-
Key Points for Multilingual Sites
- Plan ahead, separate content, use translation keys
- Test and validate translations, configure routing
- Detect user locale, set up middleware
-
Alternative i18n Solutions
react-i18nextwith App Router- Connecting to translation management systems (TMS)
By following this guide, you can create a multilingual Next.js 13 site that caters to diverse linguistic and cultural needs, providing a better user experience and improved performance.
Related video from YouTube
Setup and Requirements
To build a multilingual site using Next.js 13's app directory, you'll need to meet some basic requirements. Here's a rundown of what you need to get started:
Node.js and npm
Make sure you have Node.js installed on your system, along with npm (Node Package Manager). You can check by running node -v and npm -v in your terminal. If you don't have Node.js installed, download and install it from the official website.
Next.js Installation
Create a new Next.js project using the following command:
npx create-next-app@latest my-multilingual-app --typescript
cd my-multilingual-app
This sets up a basic Next.js project with TypeScript.
Required Packages
You'll need to install the following packages to support internationalization:
| Package | Description |
|---|---|
next-i18next |
A plugin for Next.js that provides internationalization features |
i18next |
A popular internationalization library for JavaScript |
react-i18next |
A React adapter for i18next |
Run the following command to install these packages:
npm install next-i18next i18next react-i18next
Basic Knowledge
Familiarize yourself with the basics of Next.js, including its file structure, routing, and component-based architecture. You should also have a good understanding of JavaScript, React, and TypeScript.
With these prerequisites in place, you're ready to dive into setting up your multilingual site using Next.js 13's app directory. In the next section, we'll explore the project structure for multiple languages.
Project Structure for Multiple Languages
When building a multilingual site with Next.js 13's app directory, it's essential to organize your project structure to support multiple languages. One way to achieve this is by using the [locale] dynamic segment in your page routes.
Creating a New Next.js Project
Create a new Next.js project using the following command:
npx create-next-app@latest my-multilingual-app --typescript
cd my-multilingual-app
Organizing Your Project Directory
To support multiple languages, create a separate directory for each language within the pages directory. Here's an example:
| Directory | Description |
|---|---|
en |
English language directory |
fr |
French language directory |
es |
Spanish language directory |
Each language directory contains its own set of pages, such as index.tsx and about.tsx.
Using the [locale] Dynamic Segment
To make your pages language-agnostic, use the [locale] dynamic segment in your page routes. Here's an example:
pages
[locale]
index.tsx
about.tsx
...
This allows Next.js to automatically route requests to the correct language directory based on the URL. For example, a request to https://example.com/en would route to the en directory, while a request to https://example.com/fr would route to the fr directory.
By organizing your project directory in this way, you can easily manage multiple languages and provide a seamless experience for your users. In the next section, we'll explore how to set up next-intl for internationalization.
Setting Up next-intl
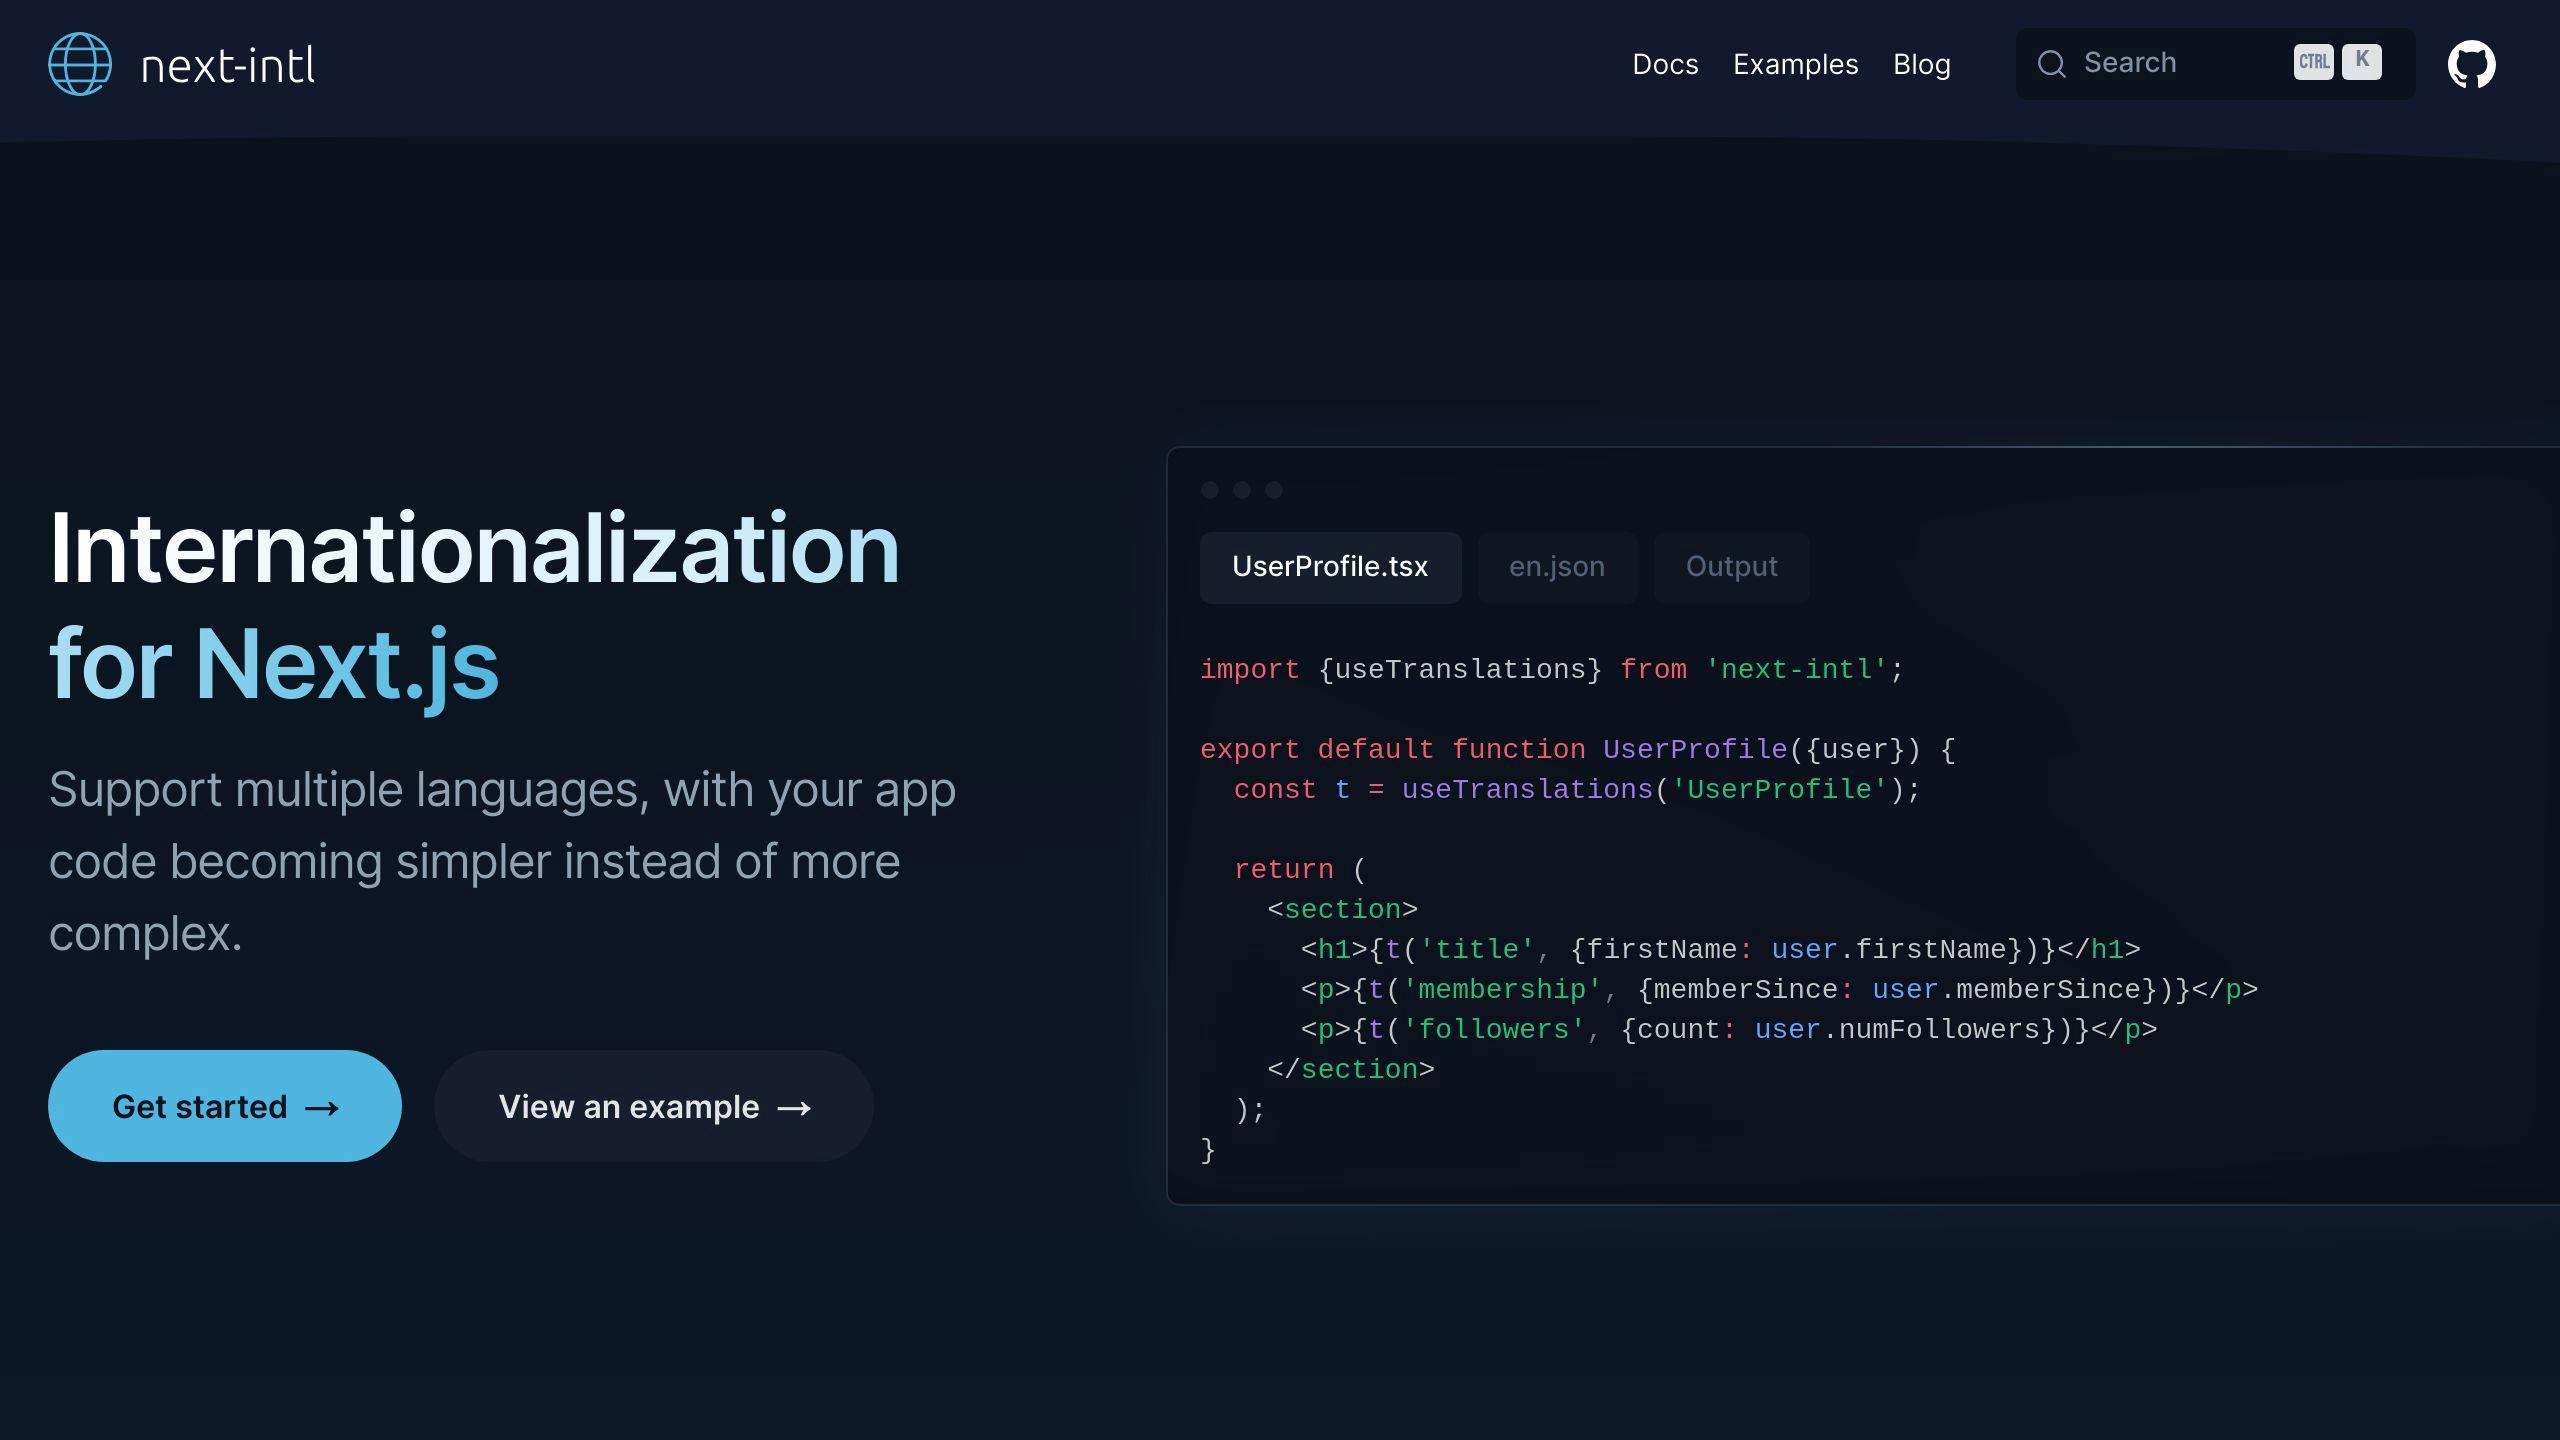
To create a multilingual site with Next.js 13, you need to set up next-intl. This section will guide you through the process of installing and configuring next-intl for internationalization in your app.
Installing next-intl
Install next-intl using npm or yarn:
npm install next-intl
or
yarn add next-intl
Creating Locale-Specific JSON Files
Create a separate JSON file for each language you want to support. For example, create en.json and fr.json files in a locales directory:
| File | Description |
|---|---|
en.json |
English language file |
fr.json |
French language file |
In each JSON file, define the translations for your app. For example, in en.json:
{
  "hello": "Hello",
  "goodbye": "Goodbye"
}
And in fr.json:
{
  "hello": "Bonjour",
  "goodbye": "Au revoir"
}
Configuring next-intl
Create an i18n.ts file in the root of your project and add the following configuration:
import { getRequestConfig } from "next-intl/server";

export default getRequestConfig(async ({ locale }) => {
  return {
    messages: (await import(`./locales/${locale}.json`)).default,
  };
});
This configuration tells next-intl to load the translations from the corresponding JSON file based on the locale.
Adding Middleware
Create a middleware.js file in the root of your project and add the following code:
import createMiddleware from "next-intl/middleware";
import { localePrefix, locales } from "./navigation";

export default createMiddleware({
  locales,
  localePrefix,
  defaultLocale: "en",
});

export const config = {
  matcher: [/((?!api|_next|.*\..*).*)/],
};
This middleware configuration enables next-intl to handle internationalized routing for your app.
By following these steps, you've successfully set up next-intl for internationalization in your Next.js 13 app. In the next section, we'll explore how to build language-specific pages and layouts.
Building Language-Specific Pages and Layouts
When creating a multilingual site with Next.js 13, you need to consider how to structure your pages and layouts to accommodate different languages. In this section, we'll explore how to build language-specific pages and layouts using layout.tsx and page.tsx files.
Static Rendering for Locales
To enable static rendering for different locales, you can use the generateStaticParams function in your layout files. This function allows you to specify the locales for which you want to generate static pages.
For example, in your layout.tsx file, you can add the following code:
import { generateStaticParams } from 'next';

export const getStaticProps = async ({ locale }) => {
  return {
    props: {},
    generateStaticParams: () => [
      { locale: 'en' },
      { locale: 'fr' },
      // Add more locales as needed
    ],
  };
};
This code tells Next.js to generate static pages for the English and French locales. You can add more locales as needed by adding more objects to the generateStaticParams array.
Using Translations in Components
To use translations in your React components and pages, you can import the useTranslation hook from next-intl and use it to access the translated text.
For example, in your page.tsx file, you can add the following code:
import { useTranslation } from 'next-intl';

function HomePage() {
  const { t } = useTranslation('home');

  return (
    <div>
      <h1>{t('hello')}</h1>
      <p>{t('description')}</p>
    </div>
  );
}
This code uses the useTranslation hook to access the translated text for the hello and description keys. You can then use the translated text in your component.
By following these steps, you can create language-specific pages and layouts for your multilingual site using Next.js 13. In the next section, we'll explore how to add a language switcher to your site.
sbb-itb-5683811
Adding a Language Switcher
To make it easy for users to switch between languages, you can add a language switcher to your multilingual Next.js 13 site. In this section, we'll show you how to create and integrate a LanguageSwitcher component.
Creating the LanguageSwitcher Component
To create a LanguageSwitcher component, you'll need to use the useRouter hook from next/router and the useTranslation hook from next-intl. Here's an example implementation:
import { useRouter } from 'next/router';
import { useTranslation } from 'next-intl';

function LanguageSwitcher() {
  const { locales, locale, pathname, query, asPath } = useRouter();
  const { t } = useTranslation('common');

  const otherLocales = locales.filter((l) => l!== locale);

  return (
    <div>
      {otherLocales.map((locale) => (
        <Link
          key={locale}
          href={{ pathname, query }}
          as={asPath}
          locale={locale}
        >
          <a>{t(`language.${locale}`)}</a>
        </Link>
      ))}
    </div>
  );
}
Integrating the LanguageSwitcher Component
To integrate the LanguageSwitcher component into your site, you can add it to your layout or page components. For example:
import Navbar from '../components/navbar';
import LanguageSwitcher from '../components/language-switcher';

function HomePage() {
  return (
    <div>
      <Navbar>
        <LanguageSwitcher />
      </Navbar>
      <!-- page content -->
    </div>
  );
}
By adding a language switcher to your site, you can provide a better user experience for users who need to switch between languages. In the next section, we'll explore how to optimize your site's performance for multilingual support.
Static Site Generation for Performance
To improve the performance of your multilingual Next.js 13 site, you can use static site generation (SSG) to pre-render pages for each supported locale. This approach ensures that your site loads quickly and efficiently, even for users with slower internet connections.
Using generateStaticParams for SSG
To implement SSG for your multilingual site, you'll need to use the generateStaticParams method in your getStaticProps function. This method allows you to generate static pages for each locale by passing an array of locale codes as an argument.
Here's an example implementation:
import { GetStaticProps } from 'next';

export const getStaticProps: GetStaticProps = async () => {
  const locales = ['en', 'fr', 'es']; // supported locales
  const generateStaticParams = async () => {
    return locales.map((locale) => ({
      params: { locale },
    }));
  };

  return {
    generateStaticParams,
  };
};
Benefits of SSG
Using SSG provides several benefits, including:
| Benefit | Description |
|---|---|
| Faster page loads | Pre-rendered pages load quickly, improving user experience. |
| Reduced server load | SSG reduces the load on your server, making it more efficient. |
| Improved SEO | Search engines can crawl pre-rendered pages more easily, improving your site's visibility. |
Adding the Current Locale to the HTML Tag
To ensure that your site's HTML tag includes the current locale, you can use the locale property in your getStaticProps function. This property allows you to pass the current locale as a prop to your page components.
Here's an example implementation:
import { GetStaticProps } from 'next';

export const getStaticProps: GetStaticProps = async ({ locale }) => {
  return {
    props: {
      locale,
    },
  };
};
By implementing SSG and adding the current locale to your HTML tag, you can improve the performance and accessibility of your multilingual Next.js 13 site.
Advanced Routing for Multiple Languages
When building a multilingual Next.js 13 site, you need to configure internationalized routing within the Next.js App Router. This section will explore how to set up middleware and detect the user's preferred locale.
Middleware Setup
To set up middleware for internationalized routing, create a custom middleware function that detects the user's preferred locale and redirects them to the corresponding page. Here's an example implementation:
import { NextApiRequest, NextApiResponse } from 'next';

const localeMiddleware = async (req: NextApiRequest, res: NextApiResponse) => {
  const locale = req.headers['accept-language'] || 'en';
  const url = req.url.replace(/^\/([^\/]+)\/(.*)$/, `/${locale}/$2`);
  return res.redirect(url);
};

export default localeMiddleware;
Locale Detection
To detect the user's preferred locale, you can use the accept-language header or a cookie-based approach. Here's an example implementation using the accept-language header:
import { NextApiRequest } from 'next';

const detectLocale = (req: NextApiRequest) => {
  const locale = req.headers['accept-language'] || 'en';
  return locale;
};

export default detectLocale;
By implementing these advanced routing techniques, you can ensure that your multilingual Next.js 13 site provides a seamless navigation experience for users across different locales.
Benefits of Advanced Routing
| Benefit | Description |
|---|---|
| Improved User Experience | Users can navigate your site in their preferred language. |
| Enhanced SEO | Search engines can crawl your site more efficiently, improving your site's visibility. |
| Better Performance | Your site loads faster, as users are redirected to the correct locale. |
By following these guidelines, you can create a multilingual Next.js 13 site that caters to diverse linguistic and cultural needs, providing a better user experience and improving your site's performance.
Key Points for Multilingual Sites
When building a multilingual Next.js 13 site, keep the following crucial points in mind:
Essential Steps
| Step | Description |
|---|---|
| 1. Plan ahead | Identify target languages and regions for your app. |
| 2. Separate content | Use JSON or CSV files to separate content from code. |
| 3. Use contextual English | Facilitate translation by using contextual English. |
| 4. Implement translation keys | Instead of hardcoding translated text, use translation keys. |
| 5. Test and validate | Thoroughly test and validate translations. |
| 6. Configure routing | Set up internationalized routing within the Next.js App Router. |
| 7. Detect user locale | Detect the user's preferred locale using the accept-language header or a cookie-based approach. |
| 8. Set up middleware | Redirect users to the corresponding page based on their preferred locale. |
By following these guidelines, you can create a multilingual Next.js 13 site that caters to diverse linguistic and cultural needs, providing a better user experience and improving your site's performance.
Alternative i18n Solutions
When building a multilingual Next.js 13 site, you may want to explore alternative internationalization libraries that can provide additional features or better compatibility with your project requirements. In this section, we'll discuss two alternative i18n solutions: react-i18next with App Router and connecting to translation systems.
react-i18next with App Router
react-i18next is a popular internationalization library that provides a robust and flexible way to manage translations in your Next.js 13 application. When used with the App Router, react-i18next offers a powerful solution for building multilingual sites. Here's a brief overview of how to set up react-i18next with the App Router:
Steps to Set Up react-i18next
| Step | Description |
|---|---|
| 1 | Install react-i18next using npm or yarn: npm install react-i18next or yarn add react-i18next. |
| 2 | Create a new file i18n.js in the root of your project and add the following configuration: |
| 3 | In your App Router, create a new file app/router.js and add the following code: |
| 4 | In your pages, use the useTranslation hook to access the translated content: |
import { useTranslation } from 'react-i18next';

function HomePage() {
  const { t } = useTranslation();

  return <h1>{t('hello')}</h1>;
}
By following these steps, you can set up react-i18next with the App Router and start building your multilingual Next.js 13 site.
Connecting to Translation Systems
Another alternative i18n solution is to connect your Next.js 13 application to a translation management system (TMS) like i18next or locize. This approach allows you to manage your translations in a centralized platform and automate the translation process. Here's a brief overview of how to connect to a TMS:
Steps to Connect to a TMS
| Step | Description |
|---|---|
| 1 | Choose a TMS that supports Next.js 13, such as i18next or locize. |
| 2 | Create an account and set up your translation project in the TMS. |
| 3 | Install the TMS SDK in your Next.js 13 project using npm or yarn. |
| 4 | Configure the TMS SDK to connect to your translation project. |
| 5 | Use the TMS SDK to fetch translated content in your Next.js 13 pages. |
By connecting to a TMS, you can streamline your translation workflow and reduce the complexity of managing multiple languages in your Next.js 13 application.
FAQs
How to use i18n in Next.js 13?
To use internationalization (i18n) in Next.js 13, follow these steps:
- Set up the file structure correctly.
- Export a middleware function in
next-i18next.config.jsto handle locale detection and routing. - Create a
dictionariesfolder with separate files for each language. - Use the
t()function to translate component strings. - Configure localized routing using the
next-i18nextmiddleware.
How to localize a Next.js app?
To localize a Next.js app, follow these steps:
| Step | Description |
|---|---|
| 1 | Install and set up next-intl. |
| 2 | Use t() for component string translations. |
| 3 | Configure localized routing. |
| 4 | Build a language switcher. |
| 5 | Localize Client Components. |
| 6 | Localize Async components. |
| 7 | Enable static rendering. |
| 8 | Apply localized formatters for dates/numbers. |
By following these steps, you can successfully localize your Next.js app and provide a seamless experience for users in different regions.