Redux Toolkit simplifies state management in Next.js 14 applications by reducing boilerplate code, improving performance, and providing robust debugging tools. Here's a quick overview:
Benefits of Using Redux Toolkit
- Simplified state management with less boilerplate code
- Improved performance with caching mechanism to reduce re-renders
- Better debugging with built-in tools to identify state-related issues
Setting Up Redux Toolkit in Next.js 14
- Install required dependencies:
npm install @reduxjs/toolkit react-redux - Create a Redux store using
configureStorefunction - Create Redux Toolkit slices with
createSlicefor reducers and actions - Use
useSelectoranduseDispatchhooks in components to interact with the store
Data Rehydration for Server-Side Rendering
- Maintain state between server and client by syncing Redux store
- Use
next-redux-wrapperlibrary to rehydrate store on client-side
Debugging with Redux DevTools
- Install Redux DevTools browser extension
- Enable DevTools integration in
store.jsfile - Inspect state, dispatch actions, and time travel through state changes
Advanced Usage
- Handle async logic with
createAsyncThunk - Create custom hooks for reusable Redux logic
| Feature | Description |
|---|---|
createAsyncThunk |
Simplifies creating async Redux actions |
| Custom Hooks | Encapsulate reusable Redux logic |
By following these steps, you can effectively use Redux Toolkit for state management in your Next.js 14 applications, leading to improved performance, easier debugging, and better code organization.
Related video from YouTube
Setting Up the Environment
To start using Redux Toolkit with Next.js 14, you need to set up the environment correctly. This section will guide you through the process of preparing your development environment.
Requirements and Dependencies
Before you begin, ensure you have the following:
- Node.js installed on your system
- Basic knowledge of Next.js and Redux
To use Redux Toolkit with Next.js 14, you need to install the required dependencies. Run the following command in your terminal:
npm install @reduxjs/toolkit react-redux
Creating a New Next.js Project

To create a new Next.js 14 project, follow these steps:
1. Create a new project:
Run the command:
npx create-next-app my-next-app
Replace my-next-app with your desired project name.
2. Navigate into the project directory:
Run the command:
cd my-next-app
3. Install the required dependencies:
Run the command:
npm install
Your Next.js 14 project is now set up and ready for you to integrate Redux Toolkit.
Organizing your files:
Create a new folder for your Redux-related code, such as redux or store, to keep your files organized.
In the next section, we'll explore how to configure the Redux store for your Next.js 14 project.
Configuring the Redux Store
Configuring the Redux store is a crucial step in setting up Redux Toolkit with Next.js 14. In this section, we'll explore how to create and configure the Redux store using Redux Toolkit's configureStore function.
Understanding the configureStore Function
The configureStore function helps you set up the Redux store. It takes an object with several properties, including reducer, middleware, and devTools.
To create a Redux store, you need to import the configureStore function from @reduxjs/toolkit and create a new store instance. Here's an example:
import { configureStore } from '@reduxjs/toolkit';

const store = configureStore({
  reducer: {},
  middleware: [],
  devTools: process.env.NODE_ENV!== 'production',
});
In this example, we're creating a new Redux store with an empty reducer and middleware array. We're also enabling devTools in development mode.
Organizing Your Redux Store
To keep your Redux store organized, create separate files for your reducers, actions, and store configuration. This will make it easier to manage your application's state and debug any issues that may arise.
In the next section, we'll explore how to create Redux Toolkit slices and use them to manage your application's state.
Creating Redux Toolkit Slices

Creating Redux Toolkit slices is a crucial step in managing your application's state. A slice is a collection of Redux reducer logic and actions for a single feature in your app, typically defined together in a single file.
Using createSlice for Reducers and Actions
To create a Redux Toolkit slice, you need to use the createSlice function from @reduxjs/toolkit. This function takes three parameters: the name of your slice, its initial state, and a reducers object containing all the reducers you want to perform on that slice.
Here's an example of creating a slice for managing user profile state:
import { createSlice } from '@reduxjs/toolkit';

const profileSlice = createSlice({
  name: 'profile',
  initialState: {
    name: null
  },
  reducers: {
    SET_NAME: (state, action) => {
      state.name = action.payload;
    }
  }
});

export const { SET_NAME } = profileSlice.actions;
export default profileSlice.reducer;
In this example, we create a profileSlice with an initial state of name: null. We also define a SET_NAME reducer that updates the name property of the state with the provided payload.
Benefits of Using createSlice
Using createSlice provides several benefits, including:
| Benefit | Description |
|---|---|
| Simplified reducer creation | createSlice simplifies the process of creating reducers and actions. |
| Easy state management | createSlice helps you manage your application's state in a more organized and efficient way. |
By using createSlice, you can easily create reducers and actions for your application's state, making it easier to manage and maintain your state logic.
Remember to export the actions and reducer from your slice file, so you can use them in your application components.
Using Redux Toolkit in Next.js Components
Redux Toolkit provides an efficient way to manage state in Next.js applications. In this section, we'll explore how to use Redux Toolkit within Next.js components.
Reading State with useSelector
The useSelector hook is used to read data from the Redux store in a Next.js component. Here's an example:
import { useSelector } from 'react-redux';

function UserProfile() {
  const name = useSelector((state) => state.profile.name);

  return <div>Welcome, {name}!</div>;
}
In this example, the useSelector hook is used to retrieve the name property from the profile slice of the Redux store.
Updating State with useDispatch
The useDispatch hook is used to update the Redux store from within a Next.js component. Here's an example:
import { useDispatch } from 'react-redux';
import { setName } from '../features/profileSlice';

function UserProfile() {
  const dispatch = useDispatch();

  const handleNameChange = (newName) => {
    dispatch(setName(newName));
  };

  return (
    <div>
      <input type="text" onChange={(e) => handleNameChange(e.target.value)} />
    </div>
  );
}
In this example, the useDispatch hook is used to retrieve the dispatch function, which is then used to dispatch the setName action to update the name property in the profile slice of the Redux store.
By using useSelector and useDispatch in your Next.js components, you can efficiently manage state and interact with your Redux store.
sbb-itb-5683811
Data Rehydration in Server-Side Rendering
Data rehydration is a crucial concept in server-side rendering (SSR) with Next.js and Redux Toolkit. It involves reconstructing the application state on the client-side by retrieving and deserializing the serialized state received from the server. This process ensures a seamless user experience when navigating between pages or reloading the application, as it avoids unnecessary data fetching and preserves the user's session.
Maintaining State Between Server and Client
To maintain state between the server and client, you need to sync the state between the Next.js server and client-side when using Redux Toolkit. You can achieve this by using a library like next-redux-wrapper, which provides a way to rehydrate the Redux store on the client-side.
Here's how to do it:
1. Server-side: Pre-fetch all queries via the initiate actions and wait for each query to finish using await Promise.all(dispatch(api.util.getRunningQueriesThunk())).
2. Client-side: Configure rehydration using the extractRehydrationInfo option in your createApi call.
By following these steps, you can ensure that your application state is properly rehydrated, providing a seamless experience for your users.
Why Data Rehydration Matters
| Reason | Description |
|---|---|
| Preserves user session | Data rehydration ensures that the user's session is preserved when navigating between pages or reloading the application. |
| Avoids unnecessary data fetching | By rehydrating the application state, you can avoid unnecessary data fetching, which improves performance and reduces latency. |
| Seamless user experience | Data rehydration provides a seamless user experience by reconstructing the application state on the client-side. |
Debugging Redux State
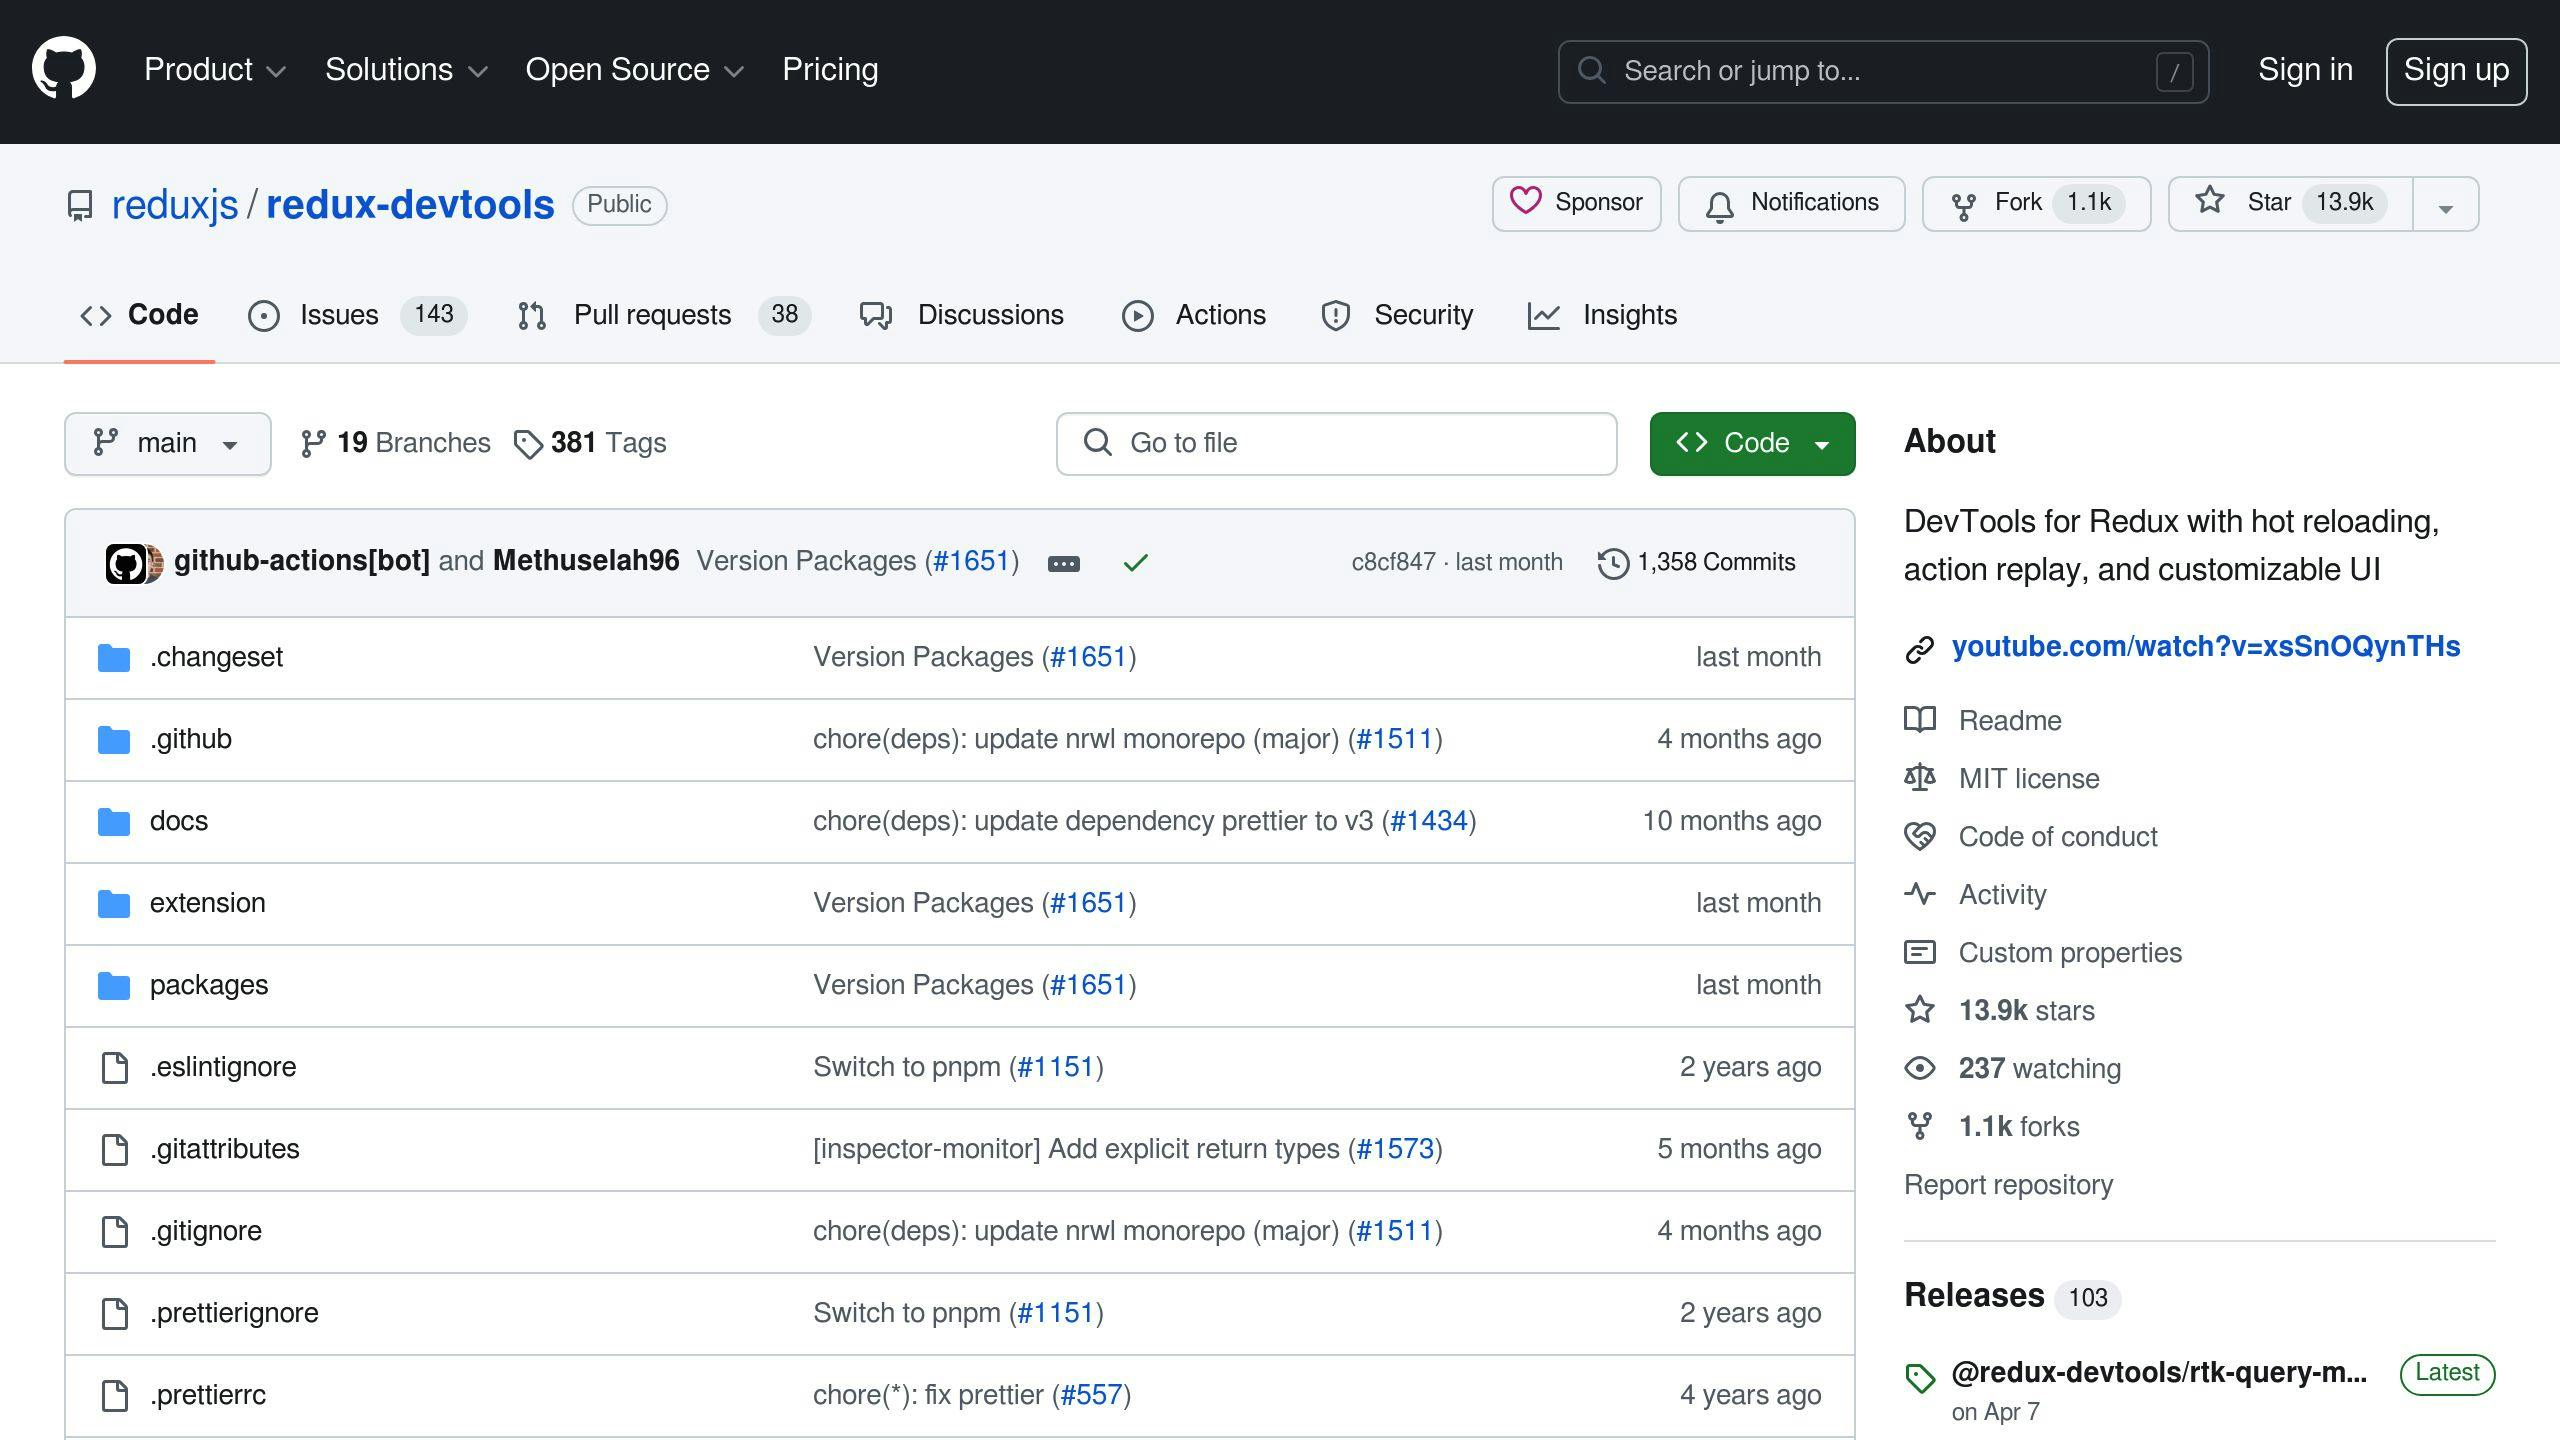
Debugging Redux state is a crucial part of building a robust and maintainable Next.js application. Redux DevTools is a powerful tool that provides a comprehensive overview of your application's state, allowing you to monitor and debug your Redux store effectively.
Using Redux DevTools for Monitoring State

To set up Redux DevTools with your Next.js 14 application, follow these steps:
1. Install the Redux DevTools extension for your browser (e.g., Chrome, Firefox).
2. In your store.js file, add the composeWithDevTools function from redux-devtools-extension to enable DevTools integration:
import { createStore, composeWithDevTools } from 'redux';
import rootReducer from './reducers';

const store = createStore(rootReducer, composeWithDevTools());
3. In your browser, open the Redux DevTools panel by clicking on the extension icon or pressing Ctrl + Shift + D (Windows/Linux) or Cmd + Shift + D (Mac).
4. Once the panel is open, you can inspect your application's state, dispatch actions, and even travel back in time to previous states.
Benefits of Using Redux DevTools
| Feature | Description |
|---|---|
| Real-time state inspection | Inspect your application's state in real-time. |
| Action dispatching | Dispatch actions and observe the state changes. |
| Time travel | Travel back in time to previous states. |
| Action history | Monitor action history and debug issues. |
By integrating Redux DevTools into your Next.js 14 application, you'll be able to debug and optimize your Redux store with ease, ensuring a seamless user experience.
Advanced Redux Toolkit Usage
In this section, we'll explore more advanced ways to use Redux Toolkit in Next.js 14 for robust state management.
Handling Async Logic with createAsyncThunk
When making API calls or performing async tasks, handling async logic can be challenging. createAsyncThunk is a utility function provided by Redux Toolkit that simplifies the process of creating asynchronous Redux actions.
Here's an example:
import { createAsyncThunk } from '@reduxjs/toolkit';

const fetchUser = createAsyncThunk(
  'user/fetchUser',
  async (id) => {
    const response = await fetch(`https://api.example.com/user/${id}`);
    return response.json();
  }
);
By using createAsyncThunk, you can create async actions that can be dispatched like regular actions, making it easier to manage async logic in your Redux store.
Creating Custom Hooks for Reusable Logic
Creating custom hooks is a great way to encapsulate Redux logic for reuse across components. By creating a custom hook, you can abstract away the complexity of interacting with the Redux store, making it easier to use in your components.
Here's an example:
import { useSelector, useDispatch } from 'react-redux';
import { fetchUser } from './userSlice';

const useUser = () => {
  const user = useSelector((state) => state.user);
  const dispatch = useDispatch();

  const fetchUserDetails = async (id) => {
    dispatch(fetchUser(id));
  };

  return { user, fetchUserDetails };
};
In this example, the useUser hook provides a way to access the user state and dispatch the fetchUser action, making it easy to use in your components.
By using custom hooks, you can create reusable logic that can be easily shared across your application, making it easier to manage complex state management tasks.
Conclusion
Why Use Redux Toolkit
Redux Toolkit simplifies state management in Next.js 14 applications. It reduces boilerplate code, improves performance, and provides robust tools for debugging and monitoring state changes.
Key Features of Redux Toolkit
Here are some key features of Redux Toolkit:
| Feature | Description |
|---|---|
| Simplified state management | Redux Toolkit reduces boilerplate code and makes state management easier. |
| Improved performance | Redux Toolkit's caching mechanism reduces unnecessary re-renders, resulting in improved performance. |
| Better debugging | Redux Toolkit's built-in debugging tools make it easier to identify and fix state-related issues. |
Further Learning Resources
If you want to learn more about Redux Toolkit and its integration with Next.js, here are some resources:
- The official Redux Toolkit documentation
- Online courses and tutorials on Redux Toolkit and Next.js development
- The Next.js documentation
- Online learning platforms like Udemy and FreeCodeCamp
Remember to follow best practices and guidelines for using Redux Toolkit in your Next.js applications, and don't hesitate to reach out to the community for support and guidance.
FAQs
What is the best state management tool for Next.js?
Redux is a popular state management solution in the React ecosystem. While there are alternatives, Redux remains widely used, especially in Next.js projects.
Should I use Redux with Next.js 14?
For App Router applications, use Redux only for globally shared, mutable data. Combine Next.js state, React context, and React hooks for other state management needs.
How to use Redux Toolkit in Next.js 14?
Here's a brief overview:
| Step | Description |
|---|---|
| 1 | Create a Redux store per request using configureStore wrapped in a makeStore function. |
| 2 | Provide the Redux store to React application components using a "client" component. |
| 3 | Only interact with the Redux store in client components, as they have access to React context. |
By following these steps, you can effectively use Redux Toolkit in your Next.js 14 project.


