Optimizing data fetching is crucial for building fast, secure, and efficient Next.js applications. Here are the key best practices:
- Fetch Data on the Server with Server Components for better security, performance, and progressive rendering.
- Fetch Data Where It's Needed to reduce data transfer and improve efficiency.
- Use Streaming and Suspense for progressive rendering and better user experience.
- Optimize Data Fetching with Parallel and Sequential Patterns based on data dependencies.
- Implement Preloading to fetch critical data in advance for faster page loads.
- Handle Form Submissions and Data Mutations with Next.js API Routes for secure server-side handling.
- Use
getStaticPropsandgetStaticPathsfor static generation and improved SEO. - Implement Incremental Static Regeneration (ISR) for efficient updates to dynamic content.
- Use Client-Side Fetching with SWR and React Query for improved performance and caching.
- Manage Data Fetching Across the Full Stack for consistent rendering and shared logic.
By following these best practices, you can create high-performing, secure, and user-friendly Next.js applications with optimized data fetching.
1. Fetch Data on the Server with Server Components
Security and Privacy Concerns
When fetching data, it's essential to consider security and privacy. By fetching data on the server with server components, you can keep sensitive information, such as API keys, hidden from clients. This approach also helps you handle authentication and authorization more securely, reducing the risk of unauthorized access to your data.
Performance Benefits
Fetching data on the server can significantly improve performance, especially when dealing with complex data sets or large datasets. By offloading data processing to the server, you can reduce the load on the client-side, resulting in faster page loads and a better user experience.
Progressive Rendering
Server components in Next.js enable progressive rendering, which allows you to render pages in chunks. By fetching data on the server, you can render the initial HTML and then progressively render additional content as it becomes available, creating a more seamless and interactive experience for users.
Here's an example of how you can fetch data on the server with server components in Next.js:
import { NextPage } from 'next';

const HomePage = () => {
  return (
    <div>
      <h1>Home Page</h1>
      <ul>
        {data.map((item) => (
          <li key={item.id}>{item.name}</li>
        ))}
      </ul>
    </div>
  );
};

export async function getServerSideProps() {
  const res = await fetch('https://api.example.com/data');
  const data = await res.json();
  return {
    props: {
      data,
    },
  };
}

export default NextPage(HomePage, getServerSideProps);
In this example, we're using the getServerSideProps function to fetch data from an API on the server-side and then passing the data as props to the HomePage component. This approach enables us to render the page with the fetched data, improving performance and security.
2. Fetch Data Where It's Needed
Efficient Fetching Patterns
When fetching data in Next.js, it's crucial to consider the efficiency of your fetching patterns. One approach is to fetch data only when it's needed, rather than fetching all data at once. This approach can help reduce the amount of data being transferred and improve performance.
Benefits of Fetching Data Where It's Needed
| Benefit | Description |
|---|---|
| Reduced Data Transfer | Fetching only necessary data reduces the amount of data transferred, resulting in faster page loads. |
| Improved Performance | By avoiding unnecessary requests, you can improve the overall performance of your application. |
Here's an example of how you can fetch data where it's needed in Next.js:
import { useState, useEffect } from 'react';

function MyComponent() {
  const [data, setData] = useState(null);

  useEffect(() => {
    const fetchData = async () => {
      const response = await fetch('https://api.example.com/data');
      const data = await response.json();
      setData(data);
    };
    fetchData();
  }, []);

  return (
    <div>
      {data && <p>{data.message}</p>}
    </div>
  );
}
In this example, we're using the useEffect hook to fetch data only when the component mounts. We're also using the useState hook to store the fetched data in the component's state.
By fetching data where it's needed, you can improve performance, reduce the amount of data being transferred, and make your application more efficient.
3. Use Streaming and Suspense for Progressive Rendering
Progressive Rendering Techniques
When rendering pages in Next.js, traditional server-side rendering (SSR) can lead to slower page loads and a poor user experience. To address this issue, Next.js provides a feature called Streaming, which enables progressive rendering of UI from the server. This allows parts of the page to be displayed to the user before the entire content has finished rendering.
How Streaming Works
Streaming breaks down the server-side rendering into smaller, incremental chunks. These chunks are then sent to the client one by one, allowing the user to see parts of the page immediately. This approach improves the perceived loading performance and provides a better user experience.
Introducing Suspense
To take advantage of Streaming, Next.js provides a built-in component called Suspense. Suspense allows you to wrap components that perform asynchronous actions (e.g., data fetching) and display a fallback UI while the action is being performed. This ensures that the user is aware that the application is processing their request, even under slow network conditions.
Here's an example of how you can use Suspense to handle loading states:
import { Suspense } from 'react';

function MyComponent() {
  return (
    <Suspense fallback={<div>Loading...</div>}>
      <MyAsyncComponent />
    </Suspense>
  );
}
Benefits of Streaming and Suspense
| Benefit | Description |
|---|---|
| Faster Page Loads | Streaming reduces the amount of data transferred, resulting in faster page loads. |
| Better User Experience | By displaying parts of the page immediately, users can start interacting with the application sooner. |
| Improved Performance | Streaming and Suspense enable progressive rendering, which improves the perceived loading performance. |
By leveraging Streaming and Suspense, you can create a more efficient and user-friendly application that provides a better experience for your users.
4. Optimize Data Fetching with Parallel and Sequential Patterns
Efficient Data Fetching
When fetching data in Next.js, there are two primary patterns to consider: parallel and sequential data fetching. Understanding the differences between these patterns is crucial for optimizing your application's performance.
Parallel Data Fetching
Parallel data fetching involves making multiple requests at the same time, without waiting for one request to complete before initiating the next. This approach can significantly reduce the overall time it takes to fetch data, especially when dealing with independent data sources or APIs.
Here's an example of how you can implement parallel data fetching in Next.js:
async function fetchData1() {
  const res = await fetch('https://api.example.com/data1');
  return res.json();
}

async function fetchData2() {
  const res = await fetch('https://api.example.com/data2');
  return res.json();
}

export default async function Page() {
  const [data1, data2] = await Promise.all([fetchData1(), fetchData2()]);
  return (
    <div>
      <h1>Data 1: {data1}</h1>
      <h1>Data 2: {data2}</h1>
    </div>
  );
}
In this example, we define two separate data fetching functions, fetchData1 and fetchData2, which are called simultaneously using Promise.all. This allows us to fetch both datasets in parallel, reducing the overall time it takes to render the page.
Sequential Data Fetching
Sequential data fetching, on the other hand, involves making requests one after the other, waiting for each request to complete before initiating the next. This approach is useful when the results of one data request depend on the data fetched in previous requests.
Here's an example of how you can implement sequential data fetching in Next.js:
async function fetchData() {
  const res1 = await fetch('https://api.example.com/data1');
  const data1 = await res1.json();
  const res2 = await fetch(`https://api.example.com/data2?param=${data1.param}`);
  const data2 = await res2.json();
  return [data1, data2];
}

export default async function Page() {
  const [data1, data2] = await fetchData();
  return (
    <div>
      <h1>Data 1: {data1}</h1>
      <h1>Data 2: {data2}</h1>
    </div>
  );
}
In this example, we define a single data fetching function, fetchData, which makes two requests sequentially. The second request depends on the data fetched in the first request, so we wait for the first request to complete before initiating the second.
Comparison of Parallel and Sequential Data Fetching
Here's a comparison of parallel and sequential data fetching patterns:
| Pattern | Description | Use Case |
|---|---|---|
| Parallel | Fetch multiple datasets simultaneously | Independent data sources or APIs |
| Sequential | Fetch datasets one after the other | Dependent data requests |
By understanding the differences between parallel and sequential data fetching patterns, you can optimize your Next.js application's performance and provide a better user experience.
5. Implement Preloading for Improved Performance
Preloading Strategy Effectiveness
Preloading is a technique in Next.js that improves your application's performance by fetching data in advance. This reduces the time it takes for your pages to load, providing a better user experience.
Next.js offers three ways to implement preloading:
| Method | Description |
|---|---|
getStaticProps |
Fetch data during the build process and store it in a cache. |
getServerSideProps |
Fetch data on each request, providing a more dynamic experience. |
useEffect |
Fetch data on the client-side, allowing for a more seamless experience. |
To implement preloading effectively, consider the following best practices:
- Identify critical data: Prioritize preloading data that is critical to your application's performance.
- Use caching: Store preloaded data in a cache to reduce the number of requests made to your API.
- Optimize API requests: Optimize your API requests to reduce the time it takes to fetch data.
- Monitor performance: Monitor your application's performance and adjust your preloading strategy accordingly.
Here's an example of how you can implement preloading with getStaticProps:
import { getStaticProps } from 'next';

function HomePage() {
  // Page content
}

export const getStaticProps = async () => {
  const data = await fetch('https://api.example.com/data');
  return {
    props: {
      data,
    },
  };
};
In this example, we use getStaticProps to preload data for the HomePage component during the build process. The fetch function is used to fetch data from an API, and the resulting data is stored in a cache and passed as a prop to the HomePage component.
sbb-itb-5683811
6. Handle Form Submissions and Data Mutations with Next.js

Form Handling and Data Mutations
In Next.js, handling form submissions and data mutations is crucial for creating interactive web applications. Next.js provides a powerful way to handle form submissions and data mutations using API Routes. API Routes allow you to define server-side functions that can be called directly from your components, enabling you to securely handle form submissions and data mutations.
Security Considerations
When handling form submissions and data mutations, security is a top priority. API Routes do not specify CORS headers, which means they are same-origin only by default. This ensures that sensitive data is not exposed to the client. Additionally, since API Routes run on the server, you can use sensitive values like API keys through Environment Variables without exposing them to the client.
Best Practices for Handling Form Submissions
To handle form submissions effectively with Next.js, follow these best practices:
| Best Practice | Description |
|---|---|
| Use API Routes | Handle form submissions and data mutations securely using API Routes. |
| Validate User Input | Validate user input on the server-side to prevent malicious data from being submitted. |
| Use Environment Variables | Store sensitive values like API keys using Environment Variables. |
| Implement Client-Side Validation | Provide immediate feedback to users as they fill out the form by implementing client-side validation. |
Here's an example of how you can handle form submissions with Next.js API Routes:
import { NextApiRequest, NextApiResponse } from 'next';

export default async function handler(req: NextApiRequest, res: NextApiResponse) {
  const data = req.body;
  // Validate user input and perform data mutation
  res.status(200).json({ message: 'Form submitted successfully' });
}
In this example, we define an API Route to handle form submissions. The req.body object contains the form data, which we can validate and use to perform data mutations. The response is then sent back to the client with a success message.
7. Use getStaticProps and getStaticPaths for Static Generation
What is Static Generation?
Static generation is a feature in Next.js that allows you to pre-render pages at build time. This results in faster page loads and improved SEO.
How to Use getStaticProps and getStaticPaths
getStaticProps and getStaticPaths are two functions that enable static generation capabilities in Next.js.
getStaticProps
getStaticProps is a function that allows you to fetch data at build time and pass it as props to your page component. This function is called at build time, and the resulting props are serialized and stored in a JSON file.
getStaticPaths
getStaticPaths is a function that allows you to define a list of paths that should be pre-rendered at build time. This function returns an array of objects, each containing a params property that defines the path.
Example
Here's an example of how you can use getStaticProps and getStaticPaths together:
import { getStaticProps, getStaticPaths } from 'next';

function Post({ post }) {
  return <Layout>Post: {post.title}</Layout>;
}

export async function getStaticProps({ params }) {
  const res = await fetch(`https://api.example.com/posts/${params.id}`);
  const post = await res.json();
  return { props: { post } };
}

export async function getStaticPaths() {
  const paths = await getAllPostIds();
  return {
    paths,
    fallback: false,
  };
}

async function getAllPostIds() {
  const fileNames = fs.readdirSync(postsDirectory);
  return fileNames.map((fileName) => {
    return {
      params: {
        id: fileName.replace(/\.md$/, ''),
      },
    };
  });
}
In this example, we define a Post component that receives a post prop from getStaticProps. We then define getStaticProps to fetch the post data at build time and pass it as a prop to the Post component. Finally, we define getStaticPaths to generate a list of paths for each post, which Next.js will pre-render at build time.
Benefits of Static Generation
| Benefit | Description |
|---|---|
| Faster Page Loads | Static generation allows pages to be pre-rendered at build time, resulting in faster page loads. |
| Improved SEO | Pre-rendered pages can be crawled by search engines, improving SEO. |
By using getStaticProps and getStaticPaths together, you can take advantage of Next.js's static generation capabilities to pre-render pages at build time, resulting in faster page loads and improved SEO.
8. Implement Incremental Static Regeneration (ISR) for Dynamic Content
Update Dynamic Content Efficiently
Incremental Static Regeneration (ISR) is a Next.js feature that allows you to update static pages at runtime without rebuilding the entire site. This technique enables you to serve both static and dynamic content efficiently.
How ISR Works
ISR involves four key steps:
- Initial Static Generation: Next.js generates a static HTML page, which can be cached for quick delivery to users.
- Revalidation Interval: ISR introduces a revalidation interval for each page, determining how often Next.js will attempt to re-generate the page in the background.
- Stale-While-Revalidate: Upon subsequent user requests, Next.js serves the statically generated page while simultaneously attempting to re-generate the page in the background.
- Revalidation Process: Next.js sends a request to your data source to check for updates. If updates are found, the page is re-generated with the new data.
Benefits of ISR
ISR offers several benefits, including:
| Benefit | Description |
|---|---|
| Faster Page Loads | ISR allows pages to be pre-rendered at build time, resulting in faster page loads. |
| Improved SEO | Pre-rendered pages can be crawled by search engines, improving SEO. |
| Efficient Updates | ISR enables efficient updates to dynamic content without requiring a full rebuild of the site. |
To implement ISR in your Next.js application, you can use the revalidate parameter in getStaticProps. For example:
export async function getStaticProps() {
  // Fetch data from an external API or database
  const data = await fetchData();

  return {
    props: {
      data,
    },
    revalidate: 60, // seconds
  };
}
In this example, the page will be re-generated every 60 seconds with the latest data.
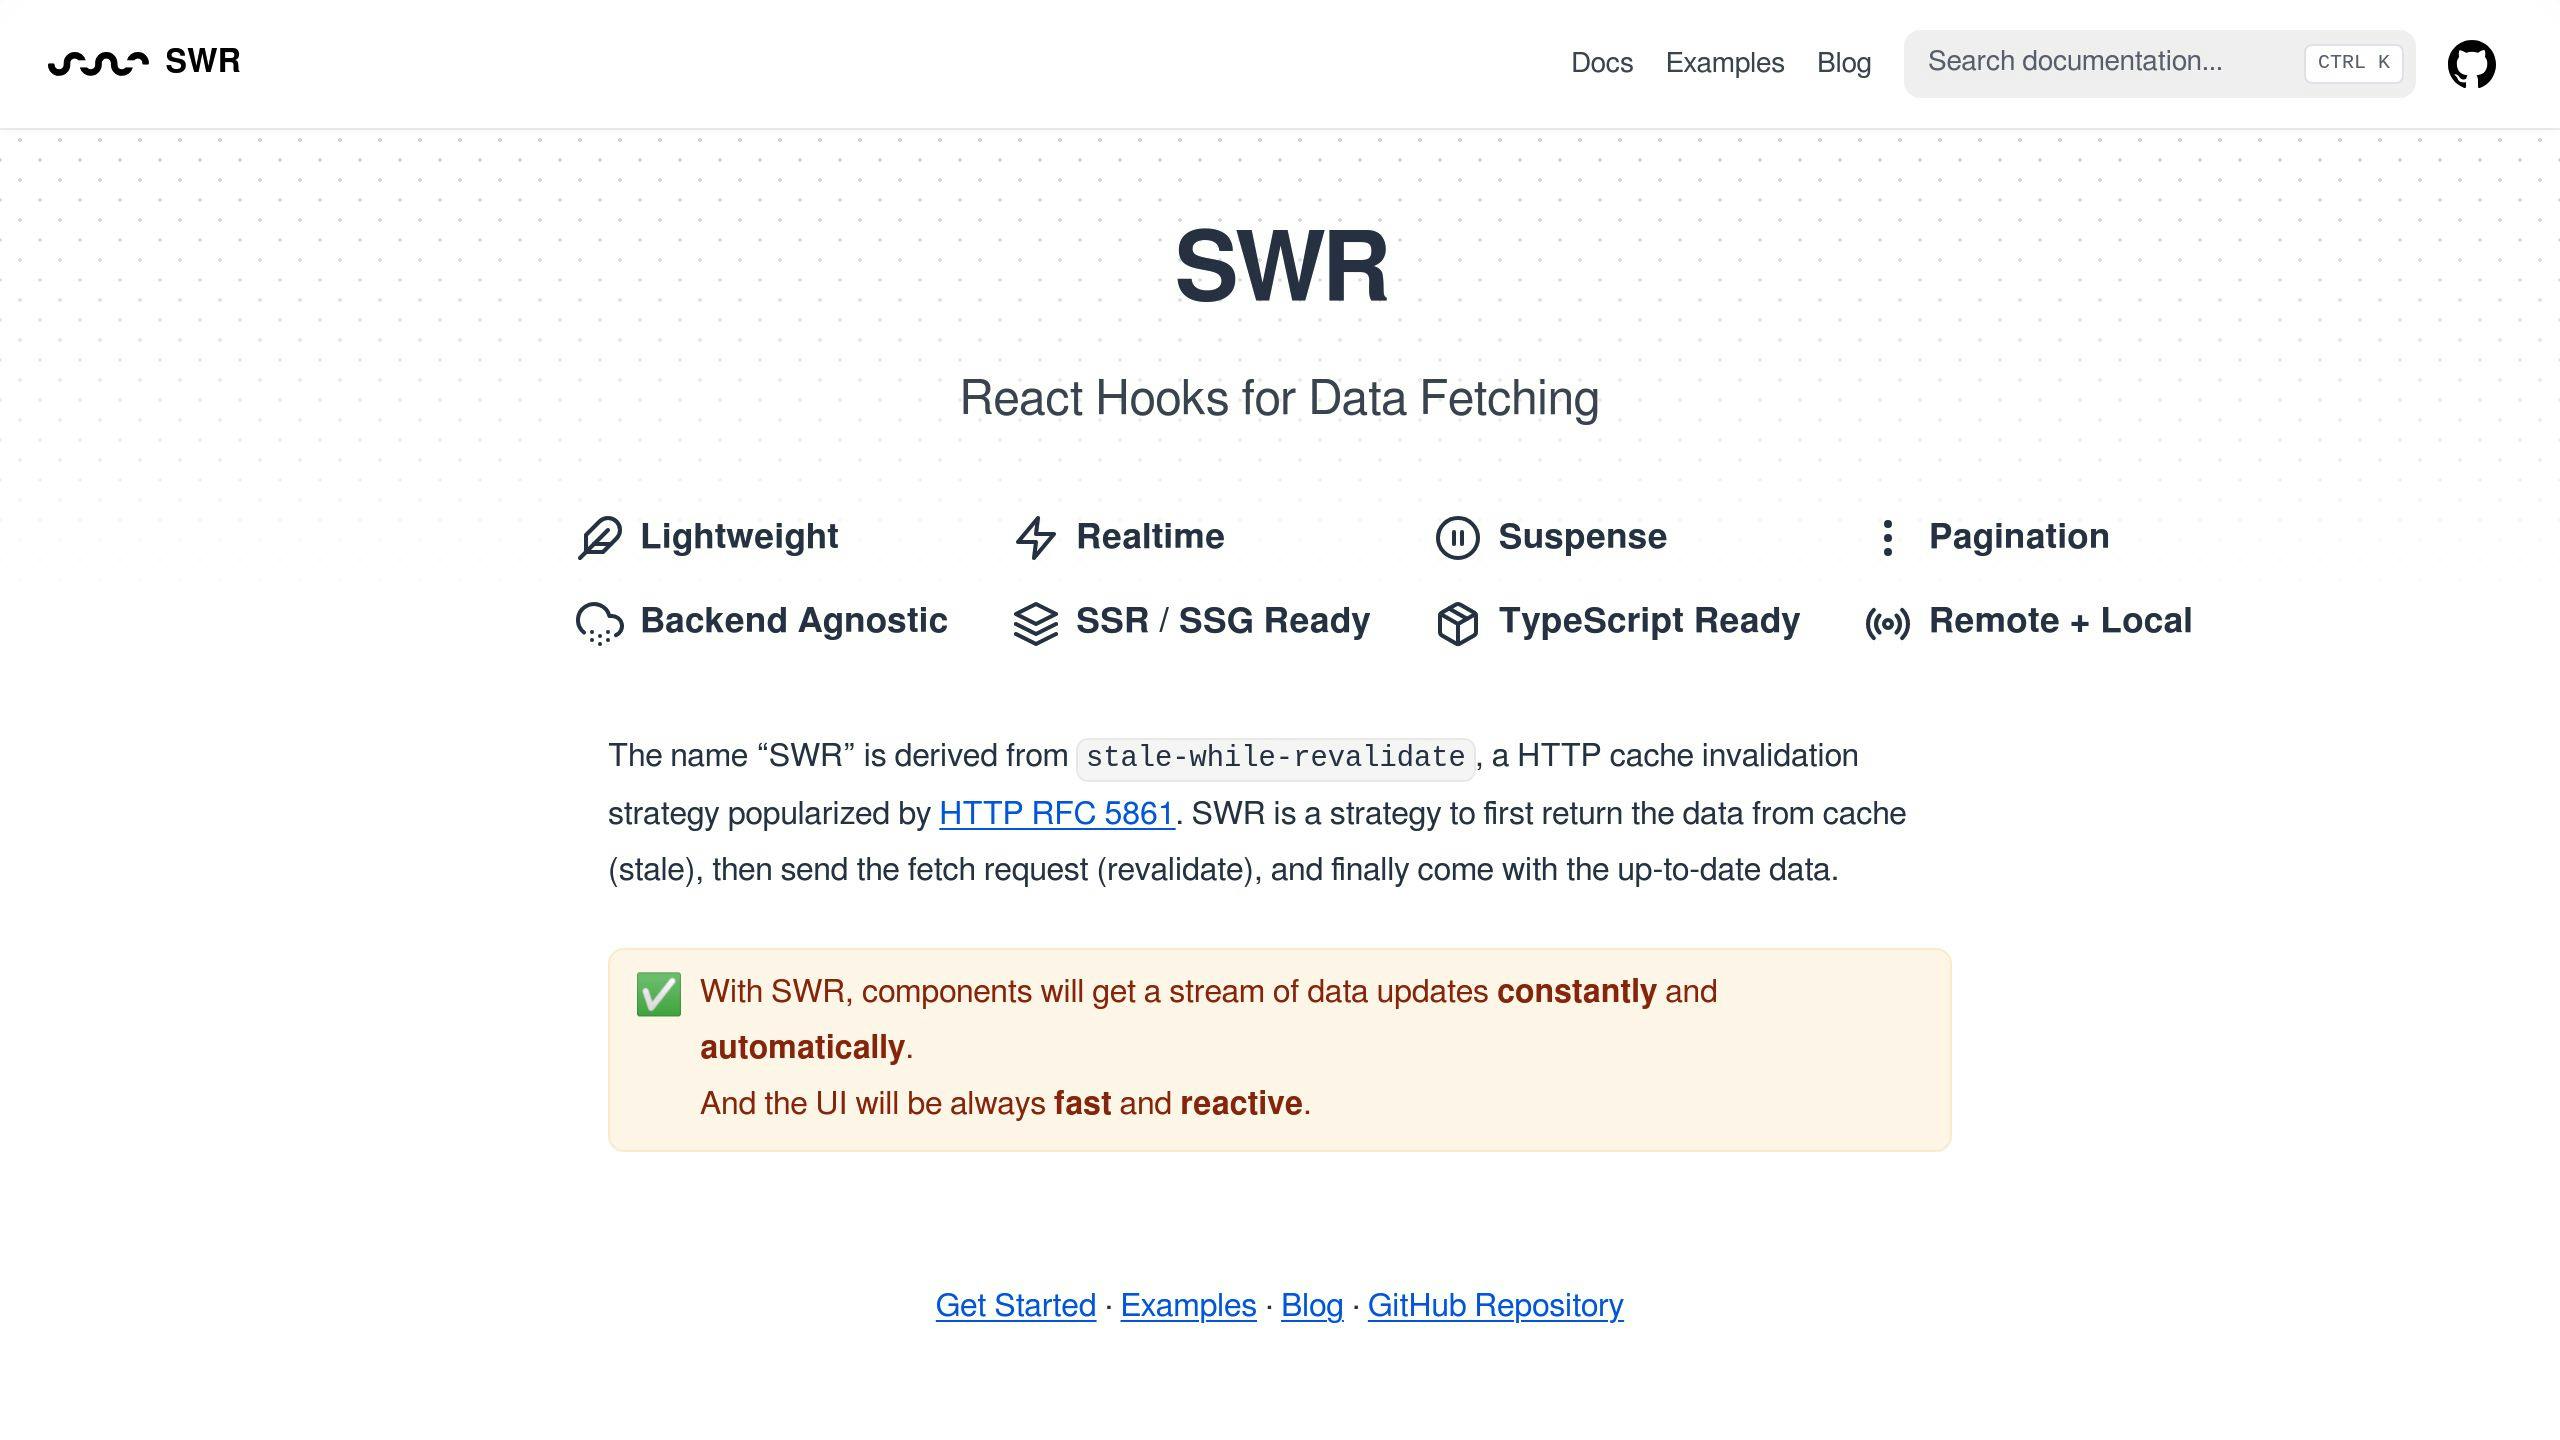
9. Use Client-Side Fetching with SWR and React Query
Client-side fetching is an essential technique in Next.js. Two popular libraries for client-side data fetching are SWR and React Query. In this section, we'll explore how to use these libraries to fetch data efficiently.
Client-Side Fetching with SWR
SWR is a data fetching library developed by the Next.js team. It provides a simple way to fetch data on the client-side. With SWR, you can fetch data using the useSWR hook, which handles caching, revalidation, and automatic retries.
Here's an example of how to use useSWR to fetch data:
import useSWR from 'swr';

function MyComponent() {
  const { data, error } = useSWR('/api/data', fetcher);

  if (error) return <div>Error: {error.message}</div>;
  if (!data) return <div>Loading...</div>;

  return <div>Data: {data}</div>;
}
Client-Side Fetching with React Query
React Query is another popular data fetching library. With React Query, you can fetch data using the useQuery hook, which handles caching, revalidation, and automatic retries.
Here's an example of how to use useQuery to fetch data:
import { useQuery } from 'react-query';

function MyComponent() {
  const { data, error, isLoading } = useQuery(
    'myData', // key
    async () => {
      const response = await fetch('/api/data');
      return response.json();
    }
  );

  if (isLoading) return <div>Loading...</div>;
  if (error) return <div>Error: {error.message}</div>;

  return <div>Data: {data}</div>;
}
Benefits of Client-Side Fetching
Client-side fetching with SWR and React Query provides several benefits:
| Benefit | Description |
|---|---|
| Improved Performance | Client-side fetching reduces the initial load time of your application. |
| Efficient Caching | Both SWR and React Query provide caching mechanisms to reduce the number of requests to your API. |
| Easy Error Handling | Both libraries provide built-in error handling mechanisms to handle errors and retries efficiently. |
By using client-side fetching with SWR and React Query, you can build fast and efficient Next.js applications that provide a great user experience.
10. Manage Data Fetching Across the Full Stack in Next.js
Full Stack Data Management
In Next.js, managing data fetching across the full stack is crucial for a seamless user experience. This involves coordinating data fetching between client-side and server-side components.
Consistent Rendering
To prevent issues, ensure that dynamic data affecting the component's output is fetched before the server render process and passed down to the corresponding client component safely.
Shared Logic and State Management
Encapsulate shared fetching logic within React hooks or custom JavaScript modules to maintain consistency and avoid duplication.
Hydration Mismatches
Ensure that the structure and content generated on the server match those on the client by fetching dynamic data before the server render process.
Here are some best practices to manage data fetching across the full stack in Next.js:
| Best Practice | Description |
|---|---|
| Consistent Rendering | Ensure consistent rendering of UI components in both server and client environments. |
| Shared Logic | Encapsulate shared fetching logic within React hooks or custom JavaScript modules. |
| Hydration Mismatches | Ensure that the structure and content generated on the server match those on the client. |
By following these best practices, you can effectively manage data fetching across the full stack in Next.js, resulting in a fast, scalable, and maintainable application.
Conclusion
By following these best practices for data fetching with Next.js API routes, you can create a more secure, performant, and user-friendly application. Here's what you can achieve:
Improved Performance
- Reduce the amount of data fetched
- Optimize data rendering
Enhanced User Experience
- Provide fast and seamless interactions
Simplified Codebase
- Encapsulate shared logic and state management
Consistent Rendering
- Prevent hydration mismatches
Remember, managing data fetching across the full stack in Next.js requires careful planning and attention to detail. By following these best practices, you can build a robust and efficient application that meets the needs of your users.
With these guidelines, you're well on your way to building a high-performing Next.js application that delivers a great user experience.